Orbit Water Timer: A Comprehensive Guide
This guide provides detailed instructions for Orbit water timers‚ covering setup‚ programming‚ troubleshooting‚ and maintenance‚ ensuring efficient lawn and garden hydration․
Understanding Orbit Water Timers
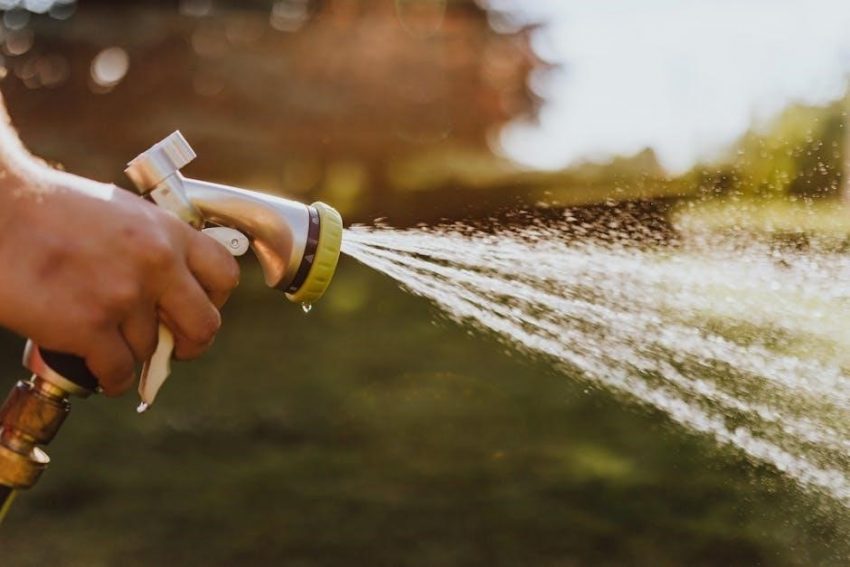
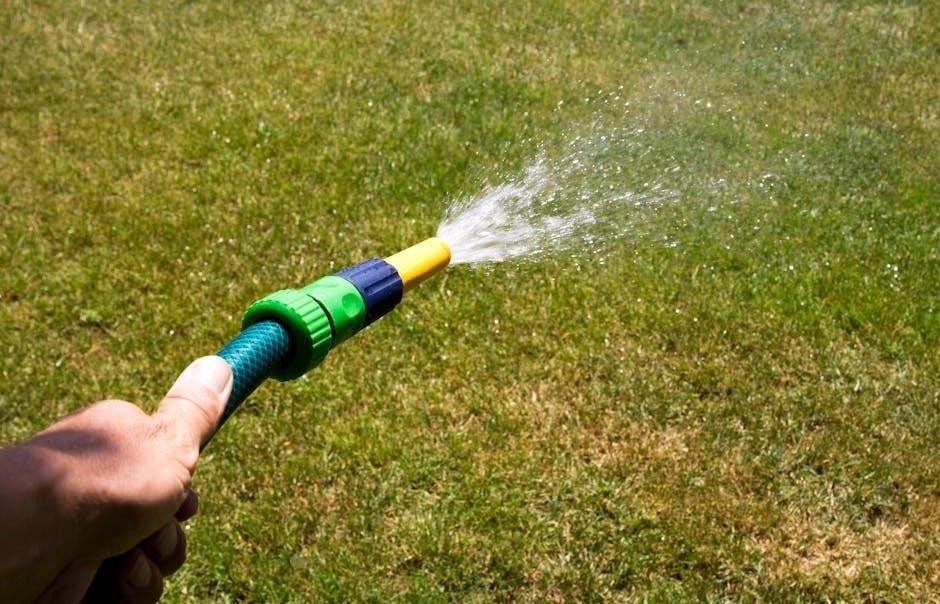
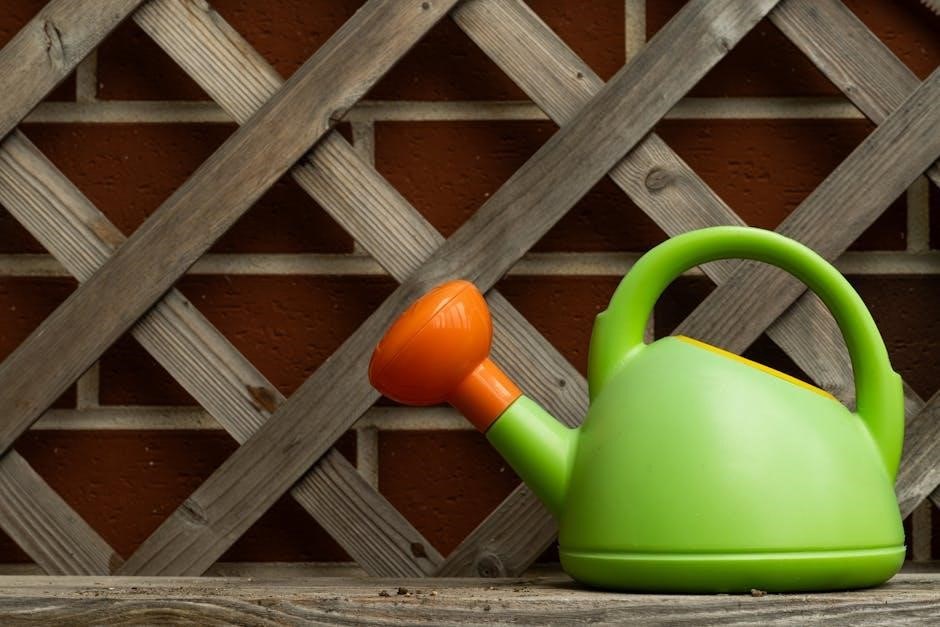
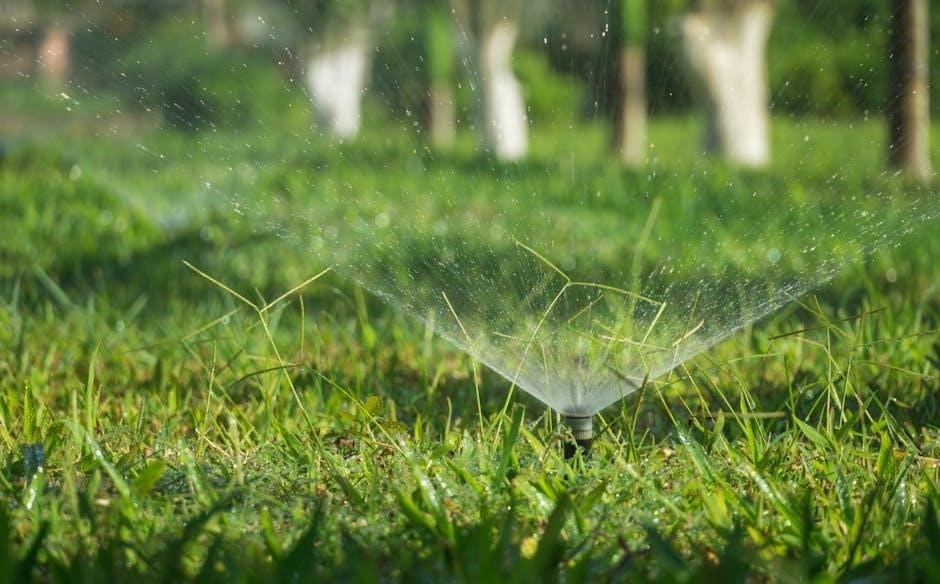
Orbit water timers are designed to automate your irrigation system‚ saving you time‚ water‚ and money․ These devices connect to your outdoor faucet and hose‚ allowing you to schedule watering cycles based on your specific needs․ Understanding the core functionality is key to maximizing efficiency․
Orbit timers range from simple mechanical models to advanced digital versions‚ each offering varying levels of control and customization․ They eliminate the guesswork of manual watering‚ ensuring consistent hydration for your lawn and plants․ Properly utilizing an Orbit timer contributes to a healthier landscape and reduced water waste․ Accessing the official Orbit manuals (available at OrbitOnline) is crucial for optimal performance․
Types of Orbit Water Timers
Orbit offers a diverse range of water timers to suit various watering needs and preferences․ Primarily‚ these fall into two categories: digital and mechanical․ Digital water timers‚ like the Model 62061Z (manuals found at OrbitOnline)‚ provide precise scheduling with multiple start times and advanced features․
Mechanical timers‚ on the other hand‚ are simpler to operate‚ relying on a dial or pin system to control watering duration․ They are ideal for basic watering tasks and require no batteries․ Choosing the right type depends on your desired level of control and the complexity of your irrigation system․ Understanding these distinctions ensures you select a timer perfectly aligned with your gardening requirements․
Digital Water Timers
Orbit’s digital water timers represent the pinnacle of automated irrigation control․ These timers‚ including the popular Model 62061Z (detailed manuals available at OrbitOnline)‚ boast LCD screens and button interfaces for intuitive programming․ They allow for multiple start times per day‚ watering durations ranging from seconds to hours‚ and often include features like rain delay․
Digital timers excel in precision and flexibility‚ catering to diverse plant needs and weather conditions․ They typically require batteries for operation and offer a manual override function for immediate watering․ Their advanced capabilities make them ideal for complex irrigation setups and users seeking maximum control over their water usage․
Mechanical Water Timers
Orbit’s mechanical water timers offer a straightforward‚ battery-free approach to automated watering․ These timers utilize a dial or rotating mechanism to set watering duration‚ typically ranging from minutes to hours․ They are known for their simplicity and reliability‚ requiring no batteries or complex programming․
Mechanical timers are ideal for basic irrigation needs and users who prefer a no-frills solution․ While they lack the advanced features of digital models‚ they provide a dependable way to automate watering․ They are generally more affordable and require minimal maintenance․ Setting the timer involves physically adjusting the dial to the desired watering time‚ making them exceptionally user-friendly․
Key Features of Orbit Water Timers

Orbit water timers boast a range of features designed for convenient and efficient watering․ Multiple Program Options allow users to customize watering schedules to suit diverse plant needs and garden layouts․ The Rain Delay Functionality automatically pauses watering during rainfall‚ conserving water and preventing over-saturation․
Manual Override Capability provides instant control‚ enabling users to water on demand‚ regardless of the programmed schedule․ Many models include features like cycle timers and seasonal adjustments․ These features contribute to water conservation and promote healthy plant growth․ Orbit timers are designed for ease of use‚ offering intuitive controls and clear displays․
Multiple Program Options
Orbit water timers excel with their diverse programming capabilities‚ catering to varied watering requirements․ Users can establish independent programs for different zones or plant types‚ optimizing hydration․ These timers often support multiple start times per day‚ allowing for segmented watering cycles․ Program durations can be precisely set‚ ranging from minutes to hours‚ ensuring accurate water delivery․
Advanced models offer day-of-the-week scheduling‚ enabling customized watering based on specific needs․ Some timers include seasonal adjustment features‚ automatically modifying schedules based on the time of year․ This flexibility promotes water conservation and healthy plant growth‚ making Orbit timers a versatile choice for any garden․
Rain Delay Functionality
Orbit water timers frequently incorporate a convenient rain delay feature‚ preventing unnecessary watering during inclement weather․ This function allows users to temporarily suspend scheduled watering cycles for a predetermined period‚ typically ranging from hours to days․ Activating rain delay conserves water and prevents over-saturation of plants‚ promoting healthier growth and reducing potential fungal diseases․
The duration of the rain delay is often adjustable‚ accommodating varying rainfall patterns․ Some models automatically cancel scheduled watering if a certain amount of rainfall is detected‚ enhancing efficiency․ Utilizing this feature demonstrates responsible water management and contributes to environmental sustainability‚ making Orbit timers a smart choice․
Manual Override Capability
Orbit water timers offer a valuable manual override function‚ providing users with immediate control over watering schedules․ This feature allows for instant activation or deactivation of watering cycles‚ bypassing programmed settings when needed․ Manual override is particularly useful for addressing unexpected conditions‚ such as localized dry spots or temporary plant needs․
Engaging the manual override typically involves pressing a dedicated button or switch on the timer․ The override duration can vary‚ with some models offering a single-cycle override‚ while others allow for continuous manual control until deactivated․ This flexibility ensures gardeners can respond promptly to changing environmental factors‚ maintaining optimal plant health and conserving water effectively․
Setting Up Your Orbit Water Timer
Proper setup is crucial for optimal performance of your Orbit water timer․ Begin by carefully unpacking the timer and inspecting all components․ The initial step involves connecting to the faucet; ensure a secure‚ leak-proof connection by hand-tightening‚ then using a wrench for a quarter turn․ Avoid over-tightening‚ which can damage the faucet or timer threads․
Next‚ attaching the hose to the timer’s outlet is essential․ Again‚ hand-tighten followed by a gentle quarter-turn with a wrench․ Verify that the hose is firmly connected to prevent water leakage during operation․ Before programming‚ it’s recommended to flush the hose to remove any debris that could clog the timer’s internal mechanisms․

Connecting to the Faucet
Securely connecting your Orbit timer to the faucet is the foundational step for successful operation․ Begin by ensuring the faucet is turned off․ Carefully screw the timer onto the faucet outlet‚ hand-tightening it clockwise․ It’s vital to avoid cross-threading‚ which can damage the connection․
Once hand-tight‚ use a wrench to gently tighten the timer an additional quarter to half turn․ Do not overtighten! Excessive force can strip the threads on either the faucet or the timer․ Inspect the connection for any visible gaps or leaks․ If leaks are present‚ slightly adjust the timer’s position and retighten cautiously․ A proper seal is essential for preventing water waste and ensuring reliable timer function․
Attaching the Hose
After securely connecting the Orbit timer to the faucet‚ the next crucial step is attaching your garden hose․ Ensure the hose end is clean and free of debris to prevent blockage and maintain a watertight seal․ Screw the hose onto the timer’s outlet‚ again hand-tightening it clockwise initially․
Similar to the faucet connection‚ avoid cross-threading․ Once hand-tight‚ use a wrench for a gentle additional tightening – a quarter to half turn is usually sufficient․ Avoid excessive force! Inspect the hose connection meticulously for any leaks․ If leaks occur‚ slightly reposition the hose and retighten․ A secure hose attachment is paramount for efficient watering and preventing frustrating water loss․
Programming Your Orbit Water Timer ⸺ Model 62061Z
The Orbit 62061Z model offers flexible programming for customized watering schedules․ Begin by pressing the “Program” button to enter programming mode․ Navigate through the options using the “Set” and “Advance” buttons․ First‚ you’ll set the current time and date‚ crucial for accurate scheduling․
Next‚ define your watering duration – how long each watering cycle will last‚ measured in minutes․ Then‚ establish your desired start times; the 62061Z allows for multiple start times per day․ Remember to select the days of the week you want the timer to operate․ Save your program by pressing “Program” again‚ confirming your settings․ Refer to the manual for detailed button functions․
Setting the Current Time and Date
Accurate time and date settings are fundamental for your Orbit timer’s proper function․ Press and hold the “Set” button until the hour display flashes․ Use the “Advance” button to adjust the hour‚ ensuring AM or PM is correct․ Release “Set” and repeat this process for the minutes․
To set the date‚ press “Set” again until the month display flashes․ Adjust the month using “Advance‚” then release “Set” and repeat for the day․ Confirm your selections by pressing “Set” one final time․ A correctly configured time and date ensures your watering schedule aligns with your desired timings․ Consult the manual for specific button layouts on your model․
Programming Watering Duration
Determining the correct watering duration is crucial for plant health and water conservation․ Press the “Water Duration” button․ The display will show the default watering time‚ typically in minutes․ Use the “Advance” button to increase the duration‚ or press and hold to quickly adjust․
Consider your plant types and local climate when setting the duration․ Shorter durations are suitable for lawns‚ while longer durations benefit deeper-rooted plants․ Remember to check for runoff to avoid water waste․ Confirm your selection by pressing “Set” or “Enter․” Refer to your Orbit timer’s manual for specific duration limits and recommended settings․
Setting Start Times
Establishing appropriate start times optimizes water delivery based on your schedule and local conditions․ Press the “Start Time” button․ The display will show the current start time․ Utilize the “Advance” or “Hour/Minute” buttons to adjust the hour and minute․ You can typically set multiple start times per day‚ allowing for segmented watering․
Consider watering during cooler hours – early morning is ideal – to minimize evaporation․ Avoid watering during peak sunlight or windy conditions․ Confirm each start time by pressing “Set” or “Enter;” Review all programmed start times to ensure they align with your watering needs․ Consult your Orbit timer’s manual for detailed instructions on managing multiple start times․
Troubleshooting Common Issues
Encountering problems with your Orbit timer is common‚ but often easily resolved․ If the timer isn’t turning on‚ check the battery compartment and ensure fresh batteries are correctly installed․ For water leaks around connections‚ tighten all fittings securely‚ and inspect for damaged washers or threads․ Ensure the hose is firmly attached to both the timer and the faucet․
An incorrect watering schedule usually stems from improper programming․ Review all settings – time‚ date‚ duration‚ and start times – carefully․ Refer to the manual for specific reset instructions if needed․ If issues persist‚ consult the Orbit website for FAQs or contact customer support․
Timer Not Turning On
A timer failing to power on is a frequent issue with simple solutions; First‚ verify the batteries are fresh and correctly installed‚ paying attention to polarity (+ and -)․ Even new batteries can be faulty‚ so testing with a known working set is recommended․ Inspect the battery compartment for corrosion or debris‚ cleaning it gently if necessary․
If the problem persists‚ check the manual override switch; ensure it’s not engaged‚ as this can sometimes prevent automatic operation․ Consider if the timer has a low-battery indicator; a flashing display often signals a need for replacement․ Finally‚ confirm the timer isn’t exposed to extreme temperatures․
Water Leaks Around Connections
Leaks at connections are common and usually easily resolved․ Initially‚ ensure all connections – faucet‚ timer‚ and hose – are tightly secured‚ but avoid over-tightening‚ which can damage threads․ Inspect the rubber washers or O-rings within each connection point; these can dry out or crack over time‚ causing leaks․ Replace any damaged washers with appropriately sized replacements․
Applying Teflon tape to the threads of the faucet and timer connections can create a tighter seal․ Check the hose itself for cracks or punctures․ If the leak persists‚ briefly disconnect the timer and run water through the hose directly to rule out a hose issue․
Incorrect Watering Schedule
An inaccurate watering schedule often stems from incorrect programming of the timer․ Double-check the current time and date settings‚ as these are foundational for all programmed schedules․ Verify the start times are set correctly‚ considering AM or PM designations․ Review the watering duration for each zone or program; ensure it aligns with your plants’ needs and local watering restrictions․
Confirm that the day(s) of the week selected for watering are accurate․ Utilize the manual override function to test the schedule and confirm the timer is operating as intended․ If using multiple programs‚ ensure they aren’t conflicting with each other․
Winterizing Your Orbit Water Timer
Proper winterization prevents damage from freezing temperatures․ Begin by removing the timer from the faucet to avoid potential cracking due to ice expansion․ Disconnect the hose and drain all water from the timer housing; shake vigorously to eliminate any remaining moisture․
Remove the batteries to prevent corrosion during storage․ Store the timer in a dry‚ frost-free location‚ such as a garage or shed․ Inspect the faucet for any leaks or damage and address them before winter sets in․ Reinstall the timer in the spring after the last frost‚ ensuring a fresh set of batteries for optimal performance․
Removing the Timer from the Faucet
Carefully detach the Orbit timer from the faucet to prepare for winter storage․ Gently unscrew the timer from the spigot‚ turning it counterclockwise․ Avoid using excessive force‚ as this could damage the threads on either the timer or the faucet․
If the timer feels stuck‚ try wiggling it slightly while unscrewing․ Once detached‚ inspect the faucet threads for any debris or corrosion․ Clean them with a wire brush if necessary․ Store the timer indoors‚ away from freezing temperatures‚ to prevent cracking or other damage․ Remember to disconnect the hose before removing the timer for easier handling․
Draining Water from the Timer
Thoroughly drain all water from the Orbit timer before storing it for the winter․ Press and hold the manual dial or button (depending on your model) to open the valve and allow any remaining water to escape․ Tilt the timer in various directions to ensure complete drainage‚ preventing potential freeze damage․
Inspect the timer’s internal components for any residual water․ If possible‚ remove the batteries to prevent corrosion․ Store the timer in a dry location‚ away from moisture and extreme temperatures․ Proper draining is crucial for extending the lifespan of your timer and ensuring reliable performance next season․
Battery Replacement
Replacing the batteries in your Orbit water timer is a simple process that ensures continued operation․ Typically‚ Orbit timers require AA or AAA batteries – check your model’s documentation for specifics․ Locate the battery compartment‚ usually on the side or back of the timer‚ and open it․
Remove the old batteries‚ noting the correct polarity (+ and -)․ Insert new batteries‚ matching the polarity markings inside the compartment․ Close the battery compartment securely․ A low battery indicator will often appear on the display‚ signaling the need for replacement․ Test the timer to confirm proper functionality after changing the batteries․

Extending the Life of Your Timer
To maximize the lifespan of your Orbit water timer‚ proper care and maintenance are essential․ Protect the timer from extreme weather; while designed for outdoor use‚ prolonged exposure to harsh conditions can cause damage․ Avoid dropping the timer‚ as this can compromise internal components․
Regularly inspect connections for leaks and tighten as needed․ Remove the timer during freezing temperatures to prevent cracking and internal damage․ Use fresh batteries annually‚ even if the timer still functions‚ to ensure optimal performance․ Clean the timer with a damp cloth to remove dirt and debris‚ avoiding harsh chemicals․
Where to Find Orbit Timer Manuals
Locating your Orbit timer’s manual is straightforward‚ ensuring you have access to detailed instructions and support․ The official Orbit Online website (Orbit Timer Manuals) provides a comprehensive library of digital manuals and quick start guides․
You can search by model number‚ such as 62061Z‚ to find the specific documentation for your timer․ Many retailers that sell Orbit products also offer downloadable manuals on their websites․ Orbit’s customer support can assist if you’re unable to locate the manual online‚ offering direct downloads or mailing options․
Orbit Timer Warranty Information
Orbit offers a warranty on its water timers‚ providing assurance against manufacturing defects․ The warranty period varies by product‚ so it’s crucial to review the specific terms accompanying your timer․ Generally‚ Orbit timers are covered for a period of one to three years from the date of purchase․
To make a warranty claim‚ you’ll typically need to provide proof of purchase and a description of the defect․ Contacting Orbit’s customer support is the first step‚ and they will guide you through the process․ The warranty covers repair or replacement of the defective timer‚ at Orbit’s discretion․
Safety Precautions
Always disconnect the water supply before attempting to install‚ maintain‚ or remove your Orbit water timer to prevent unexpected water flow․ Avoid exposing the timer to extreme temperatures‚ as this can damage internal components and affect its functionality․ Never disassemble the timer beyond the battery compartment‚ as this will void the warranty and could create a safety hazard․
Ensure the timer is securely connected to both the faucet and the hose to prevent leaks and potential water damage․ Do not use the timer with non-potable water sources‚ and keep it out of reach of children․ Regularly inspect the timer for any signs of damage or wear‚ and replace it if necessary․
Frequently Asked Questions (FAQs)

Q: My timer display is blank․ What should I do? A: First‚ ensure the batteries are fresh and correctly installed․ If the problem persists‚ try resetting the timer․ Q: Can I use my Orbit timer with a well water system? A: Yes‚ Orbit timers are generally compatible with well water‚ but a filter is recommended․ Q: How do I know if my timer is working correctly? A: Observe the valve opening and closing at the programmed times․
Q: What does “Rain Delay” do? A: It temporarily suspends the watering schedule․ Q: Can I manually water even when a program is active? A: Yes‚ most models have a manual override function․ Q: Where can I find a digital copy of my timer’s manual? A: Visit Orbit’s website for downloadable manuals․